Eidos 7 Overview
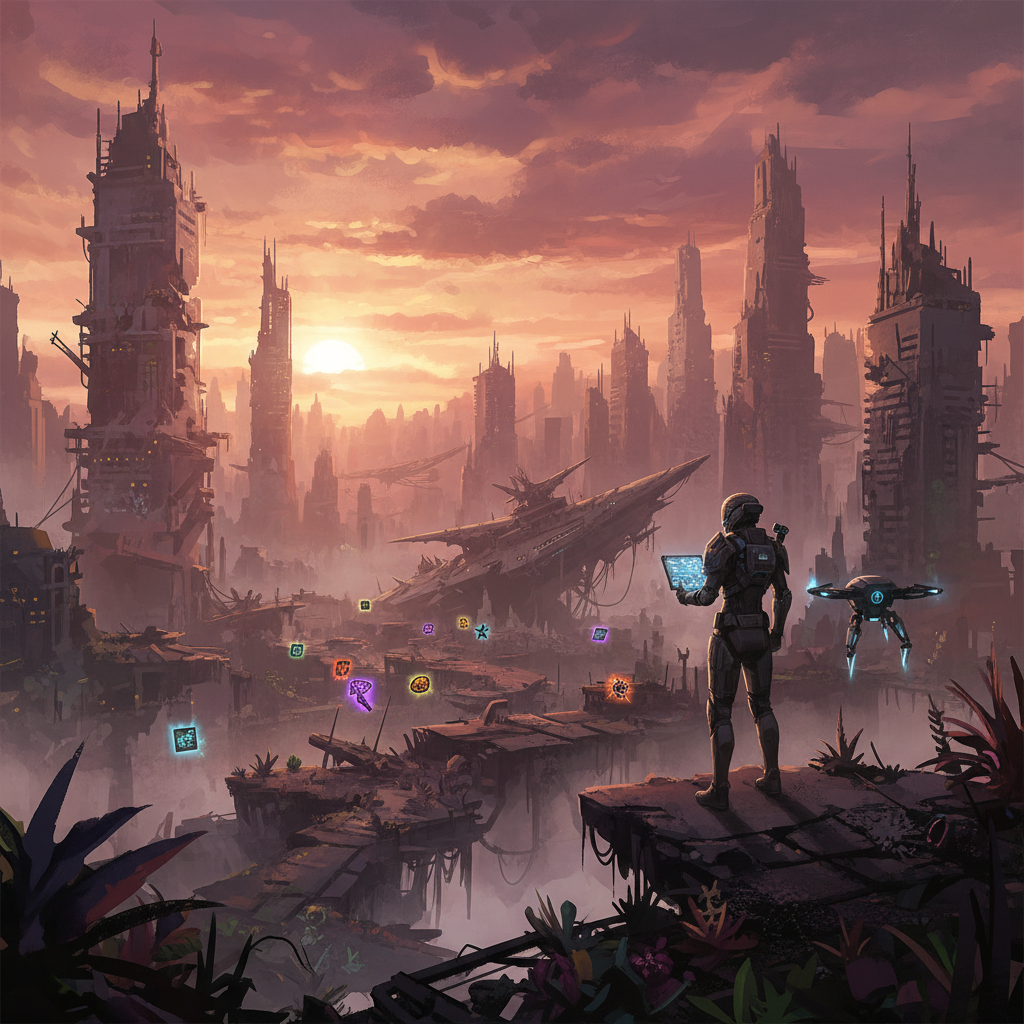
Eidos 7 serves as the introductory area in Stellar Blade, offering a linear path without an in-game map. This abandoned city is where the main mission “Scavenger Adam” takes place. Throughout Eidos 7, players will encounter various collectibles and resources crucial for progression and character enhancement, including Cans, Design Patterns, Beta Cores, Body Cores, Exospines, Passcodes, and Camps. This guide will detail their locations and how to acquire them.
Silent Street and Initial Areas
Upon arriving in Eidos 7, the first objective involves acquiring a Passcode for a locked gate on Silent Street. Scan the body located at the back of the room to the left of the gate to obtain it. After progressing through the gate, you’ll find the first Camp (Camp #1) before crossing a collapsed highway. This is an opportune moment to familiarize yourself with camp features, remembering that resting here will respawn nearby Naytibas.
Following your first encounter with a Heavy Guardian and instructions to use barrels against Mutated Creepers, take the alleyway to the left. Here, you can scan a body protected by a Guardian to collect Beta Core #1. Before long, you’ll navigate a platforming sequence involving monkey bars. A slumped corpse along this path contains the Pharmacy Passcode. This pharmacy is located on the road just past the library.
After climbing a ladder from a flooded area, Camp #2 will be immediately visible, making it unmissable.
Key Collectibles in this section:
- Passcode: Gateway (Story progression, found on a body near the first locked gate)
- Camp #1 (Before the collapsed highway)
- Beta Core #1 (Left alleyway after the first Heavy Guardian fight)
- Passcode: Pharmacy (On a slumped corpse during a platforming sequence)
- Camp #2 (After climbing a ladder from a flooded area)
- Memory Stick: Legionnaire 451’s Resolution (On a dead legionnaire on a ledge above a small lake, past the first passcode gate)
- Memory Stick: The Last Words of the Hopeless (On a dead legionnaire on a ledge just before some swinging bars)
Parking Tower and Beyond
The Parking Tower area begins with Body Core #1, found by scanning a body under the staircase at the bottom of the tower. Supply Camp #1 is activated as part of the story when you reach the top of the Parking Tower’s stairs. Camp #3 is located on the Parking Tower roof, but it only becomes accessible after defeating Abaddon.
After the Abaddon fight and descending the Parking Tower, look for a red box in the far-right corner of the second floor to find the Chain-Type Exospine. Upon exiting the Parking Tower, Camp #4 is situated directly in front of a statue.
Continuing past the Parking Tower, take the left path around a large crater to reach an underpass. In front of the “Connia Kolzen” building, a glowing corpse holds Body Core #2. After the Dozer fight, instead of following the waypoint, head in the opposite direction from the Parking Tower exit to find a small pub. Scan the body inside for Body Core #3.
Key Collectibles in this section:
- Body Core #1 (Under the staircase at the bottom of the Parking Tower)
- Supply Camp #1 (Top of Parking Tower stairs, story-related)
- Camp #3 (Parking Tower roof, after defeating Abaddon)
- Exospine: Chain-Type Exospine (Red box on the second floor of the Parking Tower, after Abaddon)
- Camp #4 (In front of a statue after leaving the Parking Tower)
- Body Core #2 (Glowing corpse in front of Connia Kolzen building, past the crater)
- Body Core #3 (Inside a small pub, opposite direction from waypoint after Dozer fight)
- Memory Stick: Request to Mother Sphere (On a dead legionnaire between bushes in the Parking Tower area)
- Memory Stick: Outcry to the Sky (On a dead legionnaire in front of a lion statue outside the parking tower)
Abandoned Station and Flooded Commercial Sector
In the Abandoned Station, story progression requires the Parking Lot Passcode. Dive underwater and explore the area to the right of the locked door to find a body to scan for the code. Immediately after climbing the rope out of the lift shaft, you’ll find Supply Camp #2.
Upon reaching the Flooded Commercial Sector via monorail, head through the door at the bottom of the stairs to find a red chest containing the Design Pattern: Planet Diving Suit (7th) V2. Camp #5 is located at the bottom of the staircase, just outside the monorail station.
Near the monorail station, move to the far left, past the iron staircases, to find a slumped corpse with Beta Core #2. Outside the monorail station, take the path to the left, away from the Hall of Records. Use yellow handholds to reach a courtyard where you’ll fight a Mutated Hydra. To the left of this area, near the floodgate terminal and protected by Mutated Creepers, is the Grenadier-Type Exospine.
Climb the yellow ledge opposite the monorail station, defeat the Naytiba in front of Barker Drugs, and scan the body for the Rear Gate Passcode. Use this code at the gate marked Ground 317 to the right of the monorail station. Supply Camp #3 is located immediately on the other side of this gate.
After solving the clock tower puzzle, climbing collapsed buildings, and descending, Camp #6 will be directly ahead. In the same area as Camp #6, before crossing a gap to the waypoint, climb yellow handholds on the same side of the camp. A red box behind some red girders contains the Armoured Pack for the drone. A corpse slumped against a mesh fence in this same area holds Beta Core #3. The Can: Elixir Carrot is accessible after draining the sewage during the Oblivion quest.
Key Collectibles in this section:
- Passcode: Parking Lot (Story progression, found underwater in Abandoned Station)
- Supply Camp #2 (After climbing rope out of lift shaft in Abandoned Station)
- Design Pattern: Planet Diving Suit (7th) V2 (Red chest in Flooded Commercial Sector, after monorail)
- Camp #5 (Bottom of staircase, outside monorail station)
- Beta Core #2 (Slumped corpse far left of monorail station)
- Exospine: Grenadier-Type Exospine (Courtyard left of monorail station, near floodgate terminal)
- Passcode: Rear Gate (On a body near Barker Drugs, opposite monorail station)
- Supply Camp #3 (After opening the Rear Gate)
- Camp #6 (After clock tower puzzle and descending collapsed buildings)
- Drone: Armoured Pack (Red box behind girders, near Camp #6)
- Beta Core #3 (Corpse slumped against mesh fence, near Armoured Pack)
- Can: Elixir Carrot (Accessible after draining sewage during Oblivion quest)
FAQ
Where is the first Passcode in Eidos 7? The first Passcode is for the Gateway on Silent Street, found by scanning a body at the back of the room to the left of the locked gate.
How do I get Beta Core #1? Beta Core #1 is found by scanning a body in an alleyway to the left, shortly after the first Heavy Guardian fight and using barrels against Mutated Creepers.
When can I use Camp #3 on the Parking Tower roof? Camp #3 becomes usable only after you have defeated Abaddon.
Where is the Design Pattern: Planet Diving Suit (7th) V2 located? This design pattern is in a red chest in the Flooded Commercial Sector. After getting off the monorail, go through the door at the bottom of the stairs to find it.
Is there an in-game map for Eidos 7? No, Eidos 7 is a linear section and does not feature an in-game map.