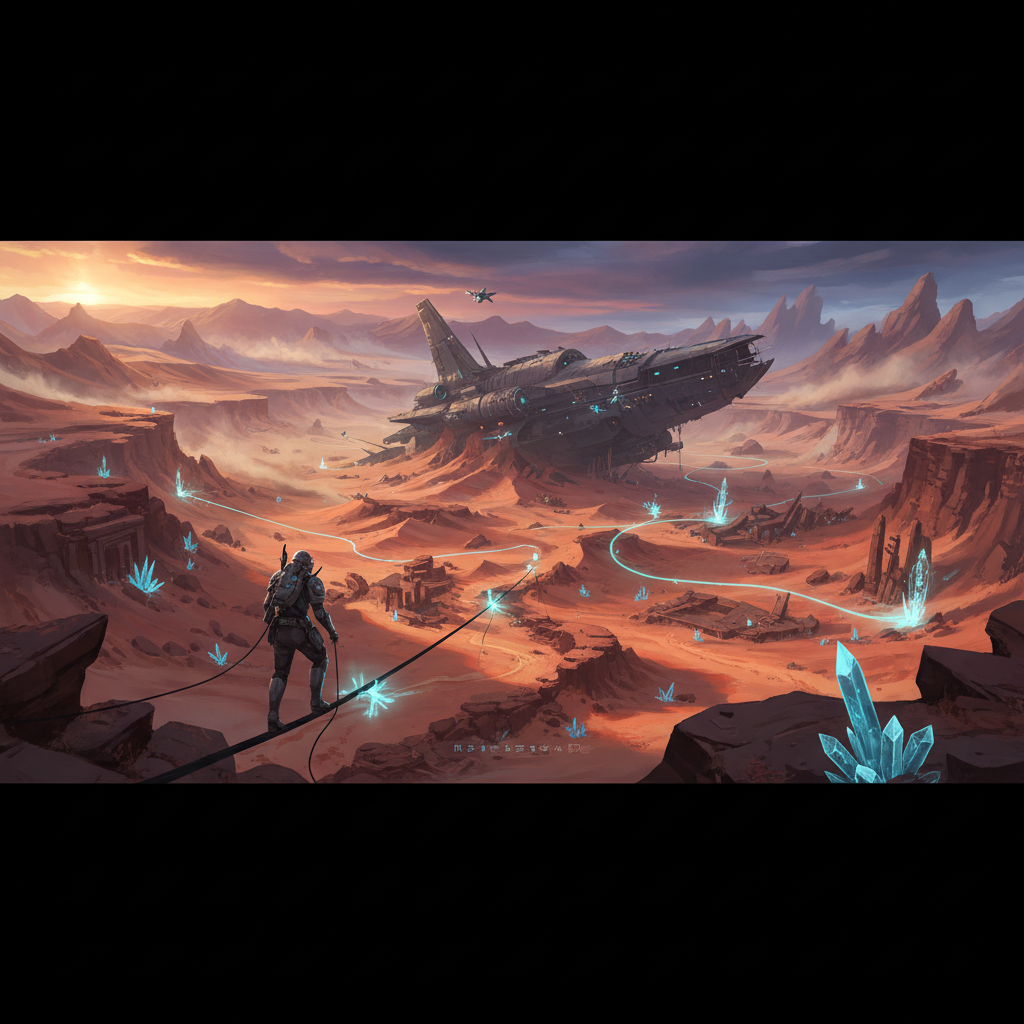
Great Desert Overview and Navigation
The Great Desert in Stellar Blade is the sixth major area Eve explores, functioning as another sandbox-style location similar to the Wasteland. To fully navigate and uncover its secrets, players will need to utilize the interactive map to locate key points, collectibles, and missions. The area features 19 Camps that serve as crucial rest and fast-travel points.
The interactive map tool for the Great Desert allows players to filter for specific types of collectibles and points of interest. Icons on the right side of the map can be clicked to display pins for a chosen category, or a magnifying glass can be used to search for specific pins by name. Clicking a pin reveals its name, description, and potentially a picture or video. Players can mark items as “Acquired” to track progress, which changes the pin’s icon and increments a counter. This feature is particularly useful for managing the extensive list of collectibles within this vast region. Collected pins can be hidden to reduce clutter, and a checklist icon provides an overview of all collected pin types.
Essential Collectibles: Cans, Cores, and Exospines
The Great Desert is rich with essential collectibles that enhance Eve’s capabilities. These include Cans, which are often found in specific locations or through environmental puzzles, and various Cores and an Exospine that provide significant stat boosts or utility. Locating all of these items is crucial for maximizing Eve’s potential throughout her journey.
Can Locations
| Can | Location | Details |
|---|---|---|
| Nectar Grape | Center of map, near Great Oasis | Next to a Fiz vending machine, near CnL - Communicate and Link quest waypoint. |
| Newfoundland Dry Zero | South-west, bottom of map | Shoot a partially exposed crate among reeds. |
| Johnson’s Highball Lemon | Cave east of Debris-filled Entryway | Move a yellow box after defeating Lurkers; inside a cool box. |
| Starwell | West of Buried Ruins | Drop a Smart Mine on flashing ground near a Lurker to reveal a cool box. |
| Liquid Nuclear | Building west of Middle Path Between Ruins | Climb scaffolding, drag yellow box to ledge, drop into courtyard, defeat Naytibas, open cool box. |
| Behemoth Black | Parking lot north of Middle Path Between Ruins | Move yellow boxes onto pressure pads in spaces 2, 12, and 13. |
| The Haven Milk Tea | Area west of parking lot | Solve pressure pad puzzle (code 467) using trolleys, some found by blowing up explosive barrels. |
| Cryo the Malt | North of West of Buried Ruins | Shoot an overhead target. |
Core and Exospine Locations
| Item | Location | Details |
|---|---|---|
| Body Core #1 | Central Great Desert Camp | Move yellow box, climb building, use handholds to reach opposite building’s upstairs room. |
| Beta Core #1 | North-east of Solar Tower, Collapsed Overpass | Climb second road (further from Solar Tower), head south, enter tunnel, interact with corpse at end. Quest “Fallen Angel” directs here. |
| Recovery-Type Exospine | Near Abandoned Overpass | Found in a red box on a protruding metal passageway. |
| Body Core #2 | Collapsed building east of Debris-filled Entryway | Inside a collapsed building. |
| Beta Core #2 | South from North of Buried Ruins | Inside a collapsed building, interact with a corpse. |
| Body Core #3 | Eastern-most part of map | Interact with a corpse slumped against collapsed debris, beyond the parking lot. |
These collectibles are often hidden behind environmental puzzles, requiring careful observation, movement, or combat. The Beta Core #1, for instance, requires a specific route through a tunnel and overpass, highlighting the multi-layered design of the Great Desert. The Cans contribute to a larger collection, while the Cores and Exospine directly improve Eve’s combat effectiveness and survivability.
Passcodes and Design Patterns
Beyond the tangible upgrades, the Great Desert also holds crucial information in the form of passcodes and aesthetic customization options through design patterns. These items often require interacting with specific objects or defeating particular enemies.
Passcode and Design Pattern Locations
| Item | Location | Details |
|---|---|---|
| Passcode: Solar Tower Area | Southern Great Desert | Destroy a Robot behind some boxes while looking for Service Drones during the “Reboot!!” mission. |
| Passcode: Teddy’s Locker | Back of Solar Tower area | Scan a human corpse. |
| Design Pattern: Black Wave | Near Debris-filled Entryway | Rear of collapsed buildings, use moveable yellow platform and handholds, defeat Robot, jump to rooftop, open red box. |
The passcodes are essential for unlocking specific areas or containers, often progressing side quests or revealing hidden lore. The “Reboot!!” mission, for example, directly leads to one of these passcodes. Design Patterns, like the Black Wave, offer cosmetic changes for Eve, allowing players to personalize her appearance. These are typically found in red boxes after navigating platforming sections or clearing out enemy encounters.
FAQ
What is the Great Desert in Stellar Blade? The Great Desert is the sixth major area in Stellar Blade, characterized as a sandbox-style location with numerous collectibles, missions, and enemies.
How many Camps are in the Great Desert? There are 19 Camps in total spread across the Great Desert, serving as save points and fast-travel locations.
How do I use the interactive map for the Great Desert? The interactive map allows you to select specific collectible types from a dropdown menu or search by name. You can click on icons to see details, mark items as acquired, and track your progress with counters.
Are there any specific quests that lead to collectibles in the Great Desert? Yes, the “Reboot!!” mission can lead you to the Solar Tower Area Passcode, and the “Fallen Angel” quest directs you to the tunnel needed to reach Beta Core #1.
What types of collectibles can I find in the Great Desert? The Great Desert contains Cans, Design Patterns, Beta Cores, Body Cores, Exospines, Passcodes, and Camps. Naytiba enemies and fishing spots are also present.