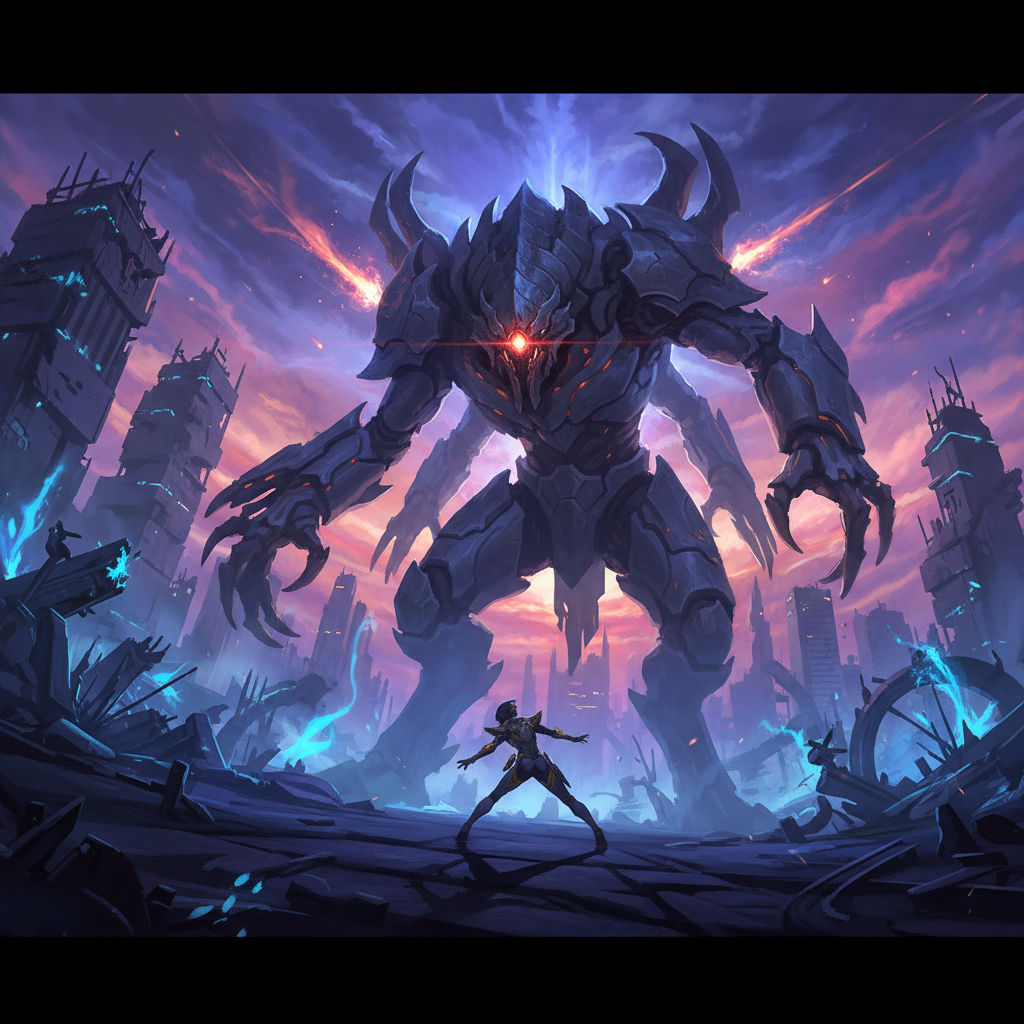
To defeat Abaddon, the second boss in Stellar Blade encountered at the top of the Parking Tower in Eidos 7 during the “Scavenger Adam” main quest, focus on consistently parrying its sword attacks and utilizing Blink for its blue-glowing moves, especially its initial charge. In its second phase, which begins at approximately 60% health, be prepared to sprint to avoid its new lightning-based yellow attacks and use environmental drums for explosive damage.
Abaddon Overview
Abaddon is a formidable Elite Naytiba that serves as the second mandatory boss in Stellar Blade. This creature wields two long swords and gains thunder-based attacks in its later phase. Its appearance is characterized by a body that can split open, random spikes, and circular horns that emit electricity. The fight takes place at the top of the Parking Tower in Eidos 7. Abaddon is both strong and speedy, requiring precise defensive maneuvers and consistent pressure.
Phase 1 Strategy
The initial phase of the Abaddon fight focuses heavily on its sword attacks. Mastering parries and Blinks is crucial here. Abaddon’s first move is often a charge, which you should block or parry. Its second hit in this sequence will glow blue, indicating an opportunity to use Blink (Forward + Dodge) to get behind the boss and stun it momentarily.
Abaddon has several regular sword combos:
- Double Slice with Charge: If Abaddon screams and runs towards you, it will perform a double slice. Roll to avoid the initial attack, and then use Blink on the subsequent blue move.
- Two-Hit Combo (Left Hand): A quick two-hit attack with its left hand, where the second blow follows a small jump. Both hits are fast and should be parried in quick succession.
- Fast One-Two Combo: Abaddon will hit both swords together for a second before performing a faster one-two combo with the same hand.
Throughout this phase, keep an eye on the oil barrels scattered around the arena. If Abaddon is near one, you can make it explode to deal a significant amount of damage. Be cautious, as these explosions will also harm Eve if she is too close. Utilize your Beta skills as soon as they are charged, as they can interrupt Abaddon’s attacks and create openings for you to deal damage.
Phase 2 Strategy
Abaddon transitions into its second phase once its health drops below approximately 60%. This shift is marked by a dynamic camera movement as Abaddon charges its swords with lightning and slams the ground. Immediately after the ground slam, run away to avoid damage. In this phase, Abaddon gains several new electric and yellow attacks, which cannot be parried.
New attacks in Phase 2 include:
- Lightning Bolts from Sky (Yellow): Abaddon lifts both swords in the air, summoning bolts of lightning. Circles will appear on the floor a few seconds before impact, indicating where they will land. Continuously move or sprint to avoid these.
- Big Jump (Yellow): Abaddon performs a large jump into the air, ending with a blow to the ground. This requires a Perfect Dodge or sprinting out of the impact zone.
- Slash Projectile (Yellow): A long-range slash projectile.
- Spark Balls (Yellow): Four consecutive spark balls are launched from its head. These can be easily dodged by running to the sides.
New regular sword attacks are also introduced:
- Double Slice Forward with Charge: A double slice forward, followed by a jump back and a charge with a one-two combo.
- Two-Hit Combo with Jump Back: A two-hit combo, a jump back, and another one-two.
- Enhanced Quick Jump Attack: The quick jump attack from Phase 1 now includes a third blow.
For all yellow attacks, parrying is ineffective. It is recommended to Perfect Dodge these moves when possible, or simply sprint out of their trajectory. Continue to use Beta skills as they charge, as they can still interrupt Abaddon’s attacks and provide valuable damage opportunities. The fight concludes with a dynamic cutscene requiring an L1 press.
Rewards
Upon successfully defeating Abaddon, you will receive a variety of valuable rewards essential for character progression and customization. These rewards are crucial for enhancing Eve’s capabilities and preparing for subsequent challenges.
| Reward Category | Specific Items | Purpose |
|---|---|---|
| Materials | Extreme Polymer Materials | Crafting and upgrading equipment |
| Materials | Extreme Nano Elements | Crafting and upgrading equipment |
| Gear | Protection Gear | Enhances Eve’s defensive capabilities |
| Gear | Beta Charge Gear | Boosts Beta skill generation |
| Upgrades | Weapon Core | Increases Eve’s weapon power and damage output |
| Currency | Gold | Used for shop purchases |
| Experience | EXP | General progression and character leveling |
The Protection Gear and Beta Charge Gear are particularly useful for improving Eve’s defense and Beta skill usage, respectively. The Weapon Core provides a direct increase to Eve’s damage output, making future encounters easier. Gold and EXP contribute to overall character progression, allowing for skill unlocks and item purchases.
FAQ
Where is Abaddon located? Abaddon is located at the top of the Parking Tower in Eidos 7, as part of the main mission “Scavenger Adam.”
What happens when Abaddon’s health reaches 60%? At approximately 60% health, Abaddon enters its second phase. This is signaled by it charging its swords with lightning and slamming the ground. It will then frequently use new lightning attacks and electrified versions of its previous moves.
Can all of Abaddon’s attacks be parried? No, attacks that flash yellow cannot be parried. For these, you must sprint out of the way or use a Perfect Dodge.
Are there any environmental hazards or aids in the Abaddon fight? Yes, there are oil drums in the surrounding area that can be hit to cause an explosion, dealing damage to Abaddon. However, these explosions can also damage Eve if she is too close.
What are the key rewards for defeating Abaddon? Key rewards include Extreme Polymer Materials, Extreme Nano Elements, the Protection Gear, the Beta Charge Gear, a Weapon Core, gold, and EXP.